Manage Recipes
The heart of Nestor is the ability to build nested Recipes. Recipes describe the potential for what a page can look like – what elements can be added, where and by whom? Different components can be added to Recipes to provide different functionality. One component may provide navigational information, while another adds a layer of access control to the components that follow it. Adding certain components allows you to designate what type of content can be added by end users and in what ways end users can interact with content (add, update, delete etc). A recipe is like DNA in that it describes a template from which a page can be built.
The Recipe is used during the Page Build Process to render the final page.
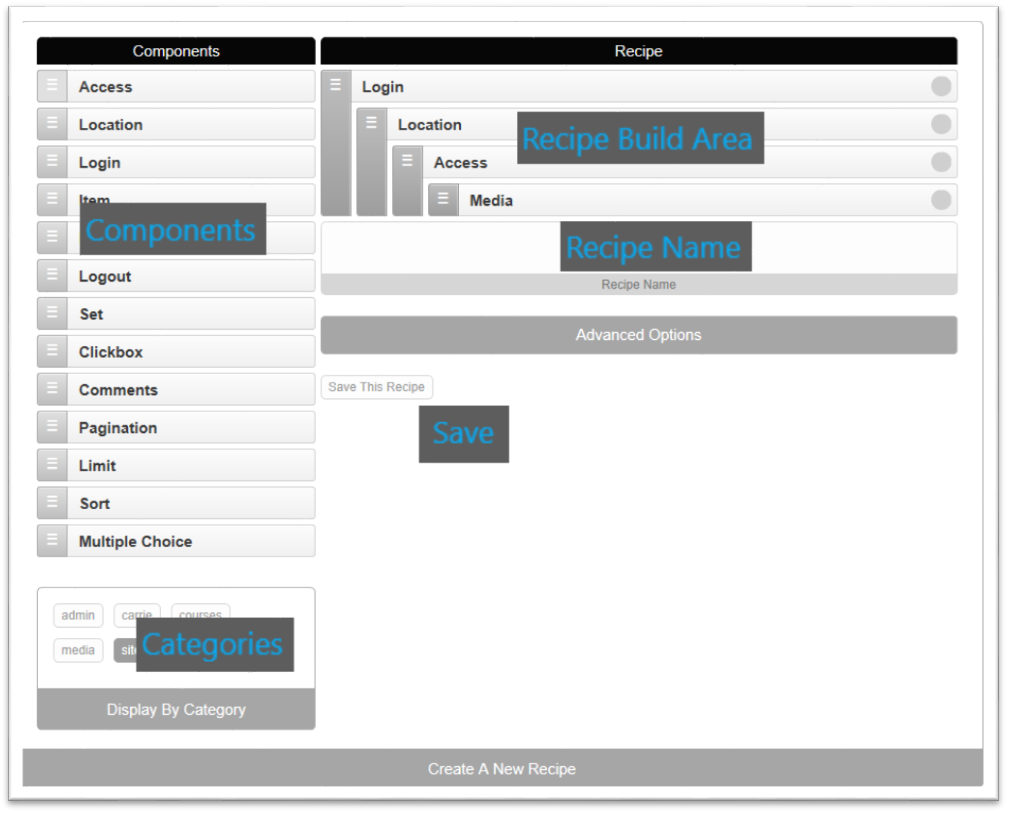
The Manage Recipes interface consists of Components, Categories and the Recipe Build Area, as well as a field to name the Recipe and the Save button. The following sections describe how to use these features to build, edit and delete Recipes.
Why Nest?
The ability to nest components is the key to the power of Nestor. Any component that is nested within another component inherits the functionality of its parent component(s), which can create a very flexible system of cascading permissions and features.
For example, the Login component provides the functionality to allow a user to login. Any Recipe with Login in the top hierarchy will always check that a user has a valid login when the page is being rendered, and provide them with a login page if they aren’t logged in.
Another great example is the Access component, which allows you to assign permissions to user roles. This component can be added at multiple levels in a Recipe. This would allow you to assign a role one level of permissions to one set of components, and then limit them to more restrictive permission level on other components on the same page.
Create a New Recipe
- Navigate to the Admin page and select Manage Recipes
- Click the Create a New Recipe bar at the top of the page
- Active components are listed on the left, under the Components header
- Click on a Category at the bottom of the listed components to see all of the components associated with that category
- Click on a Component and drag it to the Recipe Build Area. This area is where you’ll assemble your Recipe.
- It’s important to understand that the first component in a Recipe will be the anchor for the rest of the components. Certain components are a better choice for this position, and choosing a less suitable component can be problematic for the function of your final page. Choose one of the ( colored, highlighted or listed in another section) components as the first component for the best experience. Refer to the Standard Components section for more information.
- Click and drag other components to the Recipe build area. You can drop
them before or after existing components. When you drag a new component
over one that’s in the Recipe, you’ll notice a white box that appears
before or after the existing component. This indicates where the new
component will be placed when you release it.
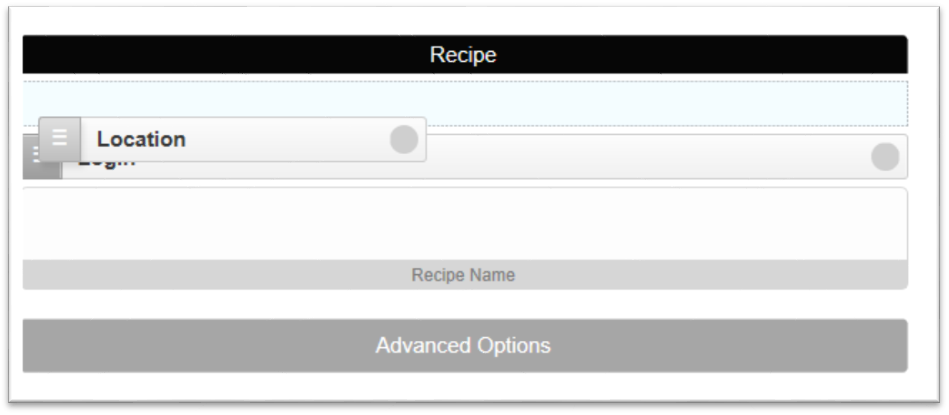 White box above Login component, Location will be placed above Login
 - Components can be moved within the Recipe after they have been placed. Click on a component, then drag and drop to its new location.
- To nest components, drag the component to be nested over an existing
Recipe component, and then slowly drag it to the right until you see a
nested spot open up under the existing component. Release the new component
and it should snap into this slot.
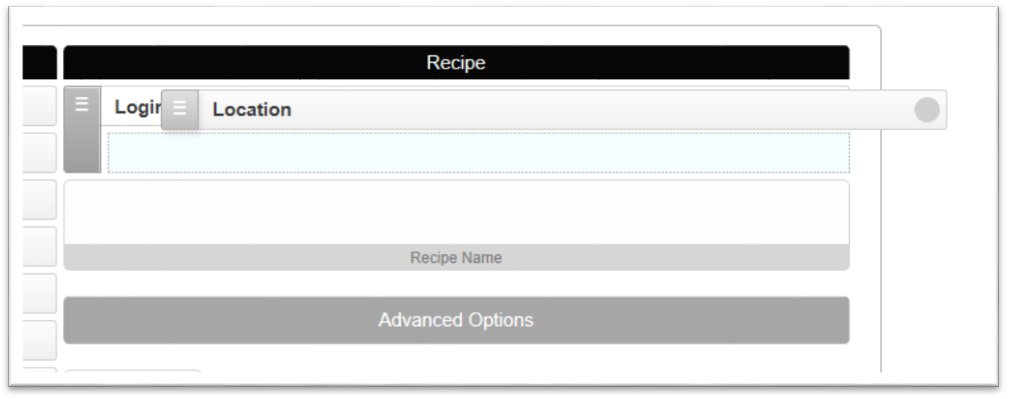 A nested spot is open underneath the Login component
 Location is nested under Login
 - Click the gray circle for each component and provide information necessary to configure each component. Refer to the Standard Components list for more information about configuring the standard components.
- To remove a component, click on the gray circle at the end of the component bar to expand the component, and then click the Remove button
- Give your Recipe a Name in the Recipe Name field
- Click the Save This Recipe button
View a Recipe
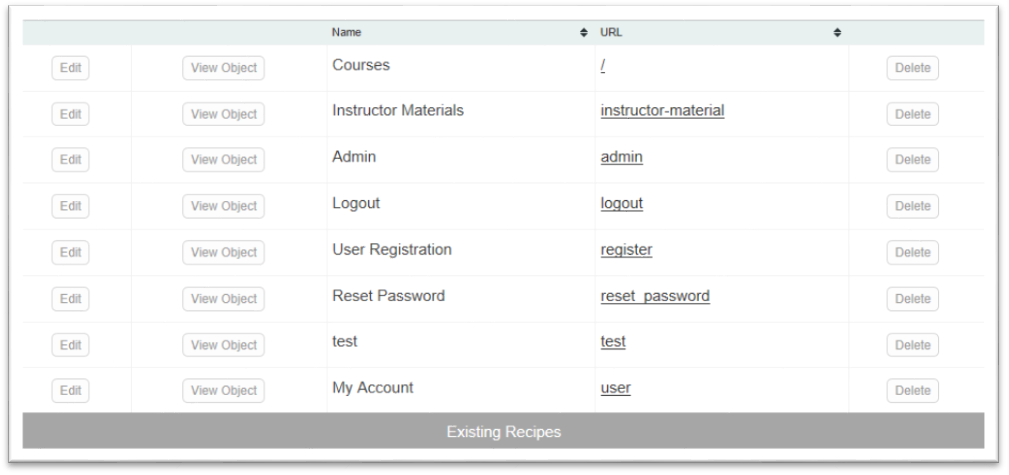
- On the Manage Recipes page, click the link in the URL field to load the page built from this Recipe.
- Click the View Object button to see the Object code for the Recipe. This can be used to update database fields if needed.
Update a Recipe
- In the Existing Recipes list, click the Edit button next to the Recipe you want to update.
- Drag and drop components to rearrange them in the Recipe
- Click on the gray circle next to a component to expand it and edit its properties component bar to expand the component, and then click the Remove button
- Click the Update This Recipe to make sure your changes are saved
Delete a Recipe
- In the Manage Recipes page, click the Delete button next to the Recipe you want to update
- Click OK on the browser warning that appears
Advanced Options
- Click the Advanced Options bar to see what other
options are available for your Recipe
- A common option is to Generate Full Page Object. Click
on this option and then click Save This Recipe
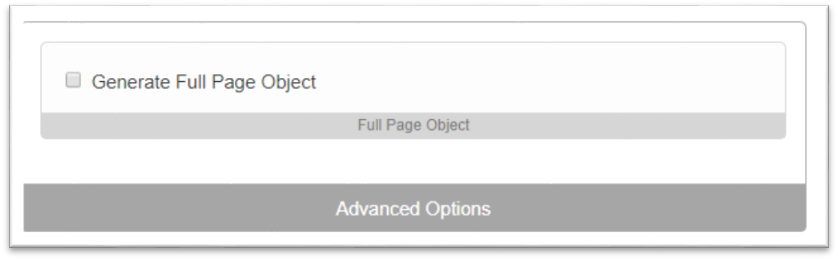
- This option would be useful for developers who want to alter the information generated on the back-end. See the Build Component Array section on the Page Build process page for more information about generating the page object.